I have a confession to make. I’m not proud of it, but here goes. I have wanted, for several years, to be the owner of an adult sized bean bag and/or ridiculously huge pillow. Yes, there it is, I have been salivating over the thought of owning what amounts to a sack of cloth filled with foam. So what has stopped me all these years from making the leap? Well, just check out the prices! Ridiculous! The poshest maker of “Sacs and Pillows” (they spell sack wrong because it’s cool?..), charges upwards of $400 USD. And their competitors, while cheaper, significantly so in fact, are still a little to expensive in my mind for what amounts to a bag of foam, and most don’t give you a clue about what kind of foam they put in the bag. Which was important to me..
So I decided it was silly that someone with a sewing machine, a serger and a modicum of sewing skills would pay for someone else to make a bag of foam. So I made my very own Giant Pillow. It was a long and interesting journey.
Research:
I spent weeks pouring over the sites of main manufacturer. Examining their marketing shots in detail and trying to determine what the heck they used to fill their Pillows. Oh, and I eventually decided that a pillow would be easier, and nicer looking than a round sack. Most high-end noveau chic bean bags, the really comfortable ones that you sigh over when you sink in, are not, I repeat not, filled with beans. That is so 1985. Now they are filled with foam, and none of the companies are very forthcoming about what kind of foam. And, there are a lot of foam choices out there! Really this is not a simple decision.
Figuring out what kind of foam to use was where I spent the majority of my research. The most expensive manufacturer uses something called durafoam. Their competitor uses some sort of self branded foam called “comfy foam” or they just don’t tell you what they use, but are quick to tell you they are the best. Really? Your are the best are you? Then tell me what kind of freakin’ foam you use!
Luckily for me, durafoam is a brand name, and while that doesn’t help much, because no one seems to sell it to consumers, it does, with a little digging on the interwebs, reveal that this product is a foam rubber and that is the info I needed. Because you see, there are only so many places a consumer can order bulk quantities of shredded foam, and even fewer places where you can order shredded rubber foam. I didn’t want to go to all the trouble to make this thing, only to fill it with something that would degrade over time and lose it’s loft. So I had my foam picked and now it was time to get to sewing.
Materials:
- 4 yards of cheap, semi-tightly woven cotton for the liner, you want air to be able to pass through relatively easily, but you don’t want foam particles escaping. I spent $12.50
- 2 upholstery zippers, one at 45″ for the liner and one at 72″ for the cover. Get upholstery zippers, not sleeping bag zippers or some other chunky zipper. You don’t really want to feel it when you are lounging on the pillow. I spent $8.00
- 4 yards of nicer decorator fabric for the cover. I spent $36.00
- between 40 and 50 lbs of your choice of foam – for me that was shredded natural laytex. I spent $160 with shipping. I ordered from http://www.foamsource.com
So in total on materials I spent $216.00, that is about $200 less than the poshest manufacturer of giant pillows.
Construction:
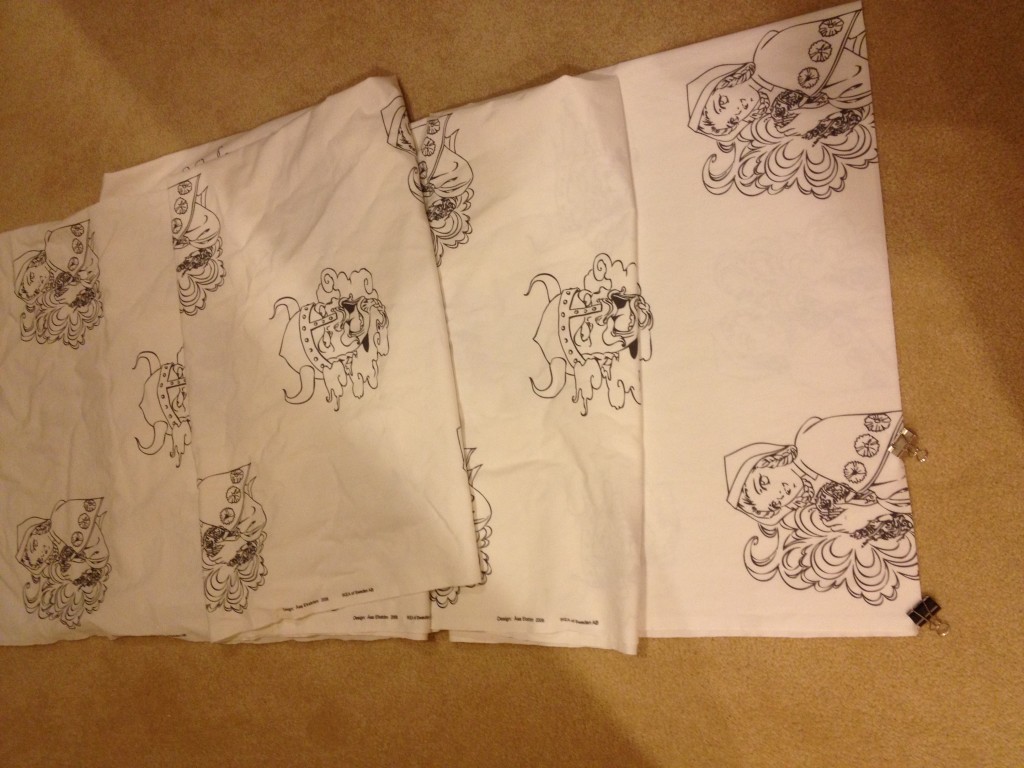
I scored some epic liner fabric from Ikea (yes they sell fabric too!) for $3/yard.

Instead of trying to make the pillow the size of all the other pillow shaped sacks on the market, I let the fabric be my guide. This particular fabric was 55″ wide, so my liner ended up measuring 55″ x 75″. Most of the commercial sacks measure 50″x”70″. Why is it 5″ longer? I don’t know. Stop pestering me with silly questions.
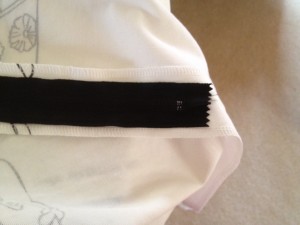
The zipper was installed along the 58″ width and slightly off center. I figured this would make for easier foam filling, and it kind of did because it created a bag of sorts. I didn’t want the zipper on one of the side seams, which I thought might experience too much stress as the pillow is used. Also, if you have never tried it, I would highly recommend installing a straight zipper on the flat. I installed the zipper into the back two pieces of the liner and then sewed the whole thing together. Marvelous! I have only ever installed apparel zippers, hidden and lapped, and doing this on the liner was sooo easy.

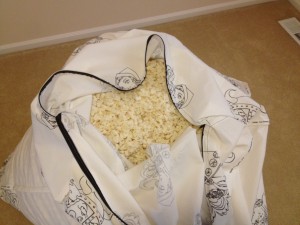
Once the zipper was installed it was time to add the foam. I thought ahead on this one and dragged the liner and the 50lbs of foam, (which came in two 25lbs bags) up stairs to the room where it was destined to finally reside. You see, I had envisioned trying to wrestle 50lbs of foam up my stairs in a large and unwieldy sack, and while I’m sure comedy would have ensued, I’m also sure anger, rage and marks on the wall would have followed.

So, up to the loft and in with the foam! The first bag I just dumped in, easy as pie. The second bag I ladled in with a 3 gallon plastic bin. I wasn’t sure, initially if I wanted to put all 50lbs in, though I eventually did.


For the cover, I chose a brown microsuede I found on the clearance rack at Joann Fabrics. I was given strict instruction by the DH that the liner be soft, so microsuede fit the bill and it breaths slightly as well for easier fluffing of the pillow. I made the cover smaller than the liner by 5″ on both length and width. I installed a 72″ zipper lengthwise and trimmed it down to 65″ so the zipper didn’t run into the end seams on either end. The cover threw me for a loop for a while as I pondered how to install the zipper lengthwise, have it run down the back center of the pillow, and do all this without having to cut two pieces for the back of the cover like I did for the liner. I really don’t like cutting fabric more than I have too and I didn’t want to throw the sizing off on the back if I botched the zipper seam allowances. Why the center back zipper? Well, imagine trying to shove a 50lb sack into a another sack… much better to lay it open down the center, put the liner on top and than tuck in around the perimeter.
What I ended up doing was sewing the long seams and installing the zipper on one said long seam. Than I shifted the the whole thing over a quarter roll, matching up the long side seams so they met in the center of the front and back of the pillow. I sewed up the shorter side seams and, Voila! Center back zipper created without the need to cut more fabric. What! I cut on my dining room table, it’s not that big!
Since I new the cover, being smaller than the liner, would have more stress on the seams, all the seams were sewn twice and I kept the stitch length relatively small. I serged all edges. I probably didn’t have to, but what the heck, I have serger, so why not.

It is freaky comfortable, and the laytex foam doesn’t get hot, which I was initially concerned about. It also doesn’t smell unpleasant, (another thing I was concerned about) but there is a scent, kind of like sugar cookies, but with a slight rubber tinge to it. Since there is 50lbs of foam in it, it is kind of a pain to move, but it isn’t going very far, so this isn’t a big deal. All in all, it was a great project and now we have something to fight over when we want to go read a book.
Leave a Reply
You must be logged in to post a comment.